How to Repair a Damaged Gun Screw
One bad thing about gun people, myself included, is that we tend to mess with things that we shouldn’t. While a simple cleaning would likely fix any problems we are having, we want to make sure it doesn’t happen again, and somehow turning our firearm into a big pile of parts is the way to accomplish this. Many times, we end up with a damaged gun screw that we have to either repair, replace or leave looking like a hillbilly’s front teeth. If we try to sell the gun, later on, any damaged gun screws tell an observant buyer that an unqualified and ill-equipped kitchen gunsmith messed with stuff they should have left alone.
If you don’t want to repair your damaged gun screw, you can usually find a replacement as long as it is a common firearm or is currently in production. Many manufacturers sell gun parts to users, but websites such as brownells.com and gunpartscorp.com sell them as well.
However, if you want to repair your damaged gun screw, the process isn’t that difficult and can be done with cheap and easy-to-find tools and supplies. As long as the damage isn’t too extensive, you should be able to finish the entire job in around 20 minutes. After this, you will have to look really hard to tell that any damage existed.
Have the Right Screwdrivers
Before you attempt to repair a damaged gun screw, you must have the correct screwdrivers. If you don’t have the right ones, you will simply damage the screw again when you put it back into your gun. Slotted gun screws require a hollow-ground screwdriver for removal. Anything else will result in damage to your firearm.
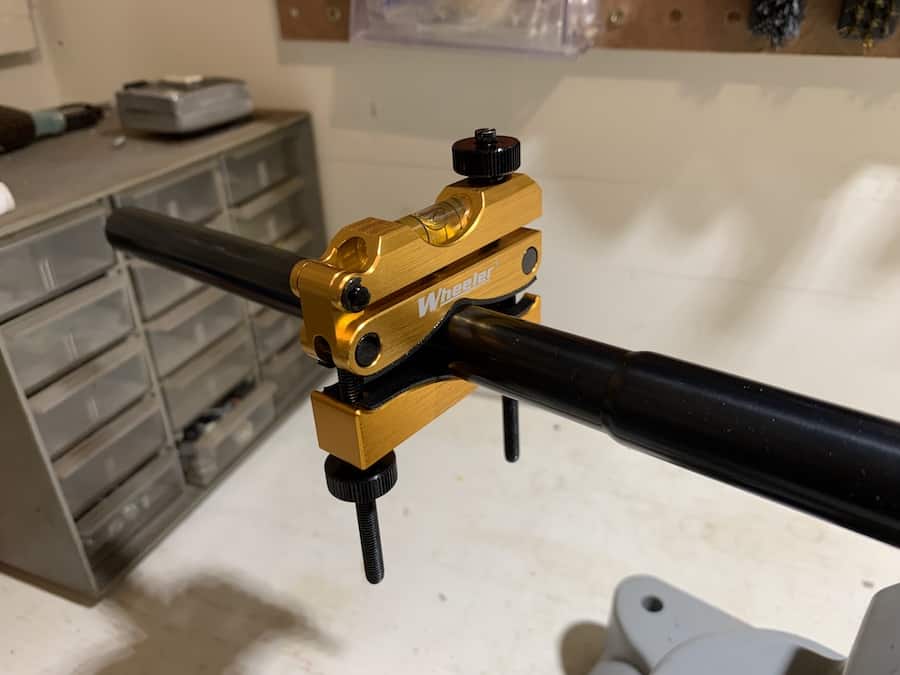
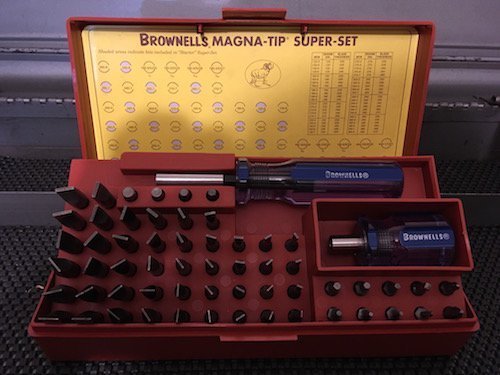
The best examples of these are the Magna-Tip screwdrivers from Brownells and the Gunsmithing Screwdriver Sets from Wheeler Engineering. They include numerous hollow-ground slotted screwdriver tips that are designed to give a perfect fit when removing and replacing gun screws. Find the tip in the set that matches the screw’s slot and then use it to remove and reinsert the screw.
My favorite gunsmithing screwdriver set is the Magna-Tip Superset from Brownells. Both the bits and handles are high-quality, and Brownell’s warranty is top-notch. You can see a full review of the Brownells Magna-Tip Super Set by clicking here.
If you have tapered screwdrivers and cannot resist the temptation to use them on your guns, just throw them in the bottom of the ocean. Seriously. There is absolutely no way that you will avoid damage to your gun if you are using regular “hardware store” screwdrivers. Use those to attach light switch plates in your house and nothing else.
Make Sure the Gun Is Unloaded
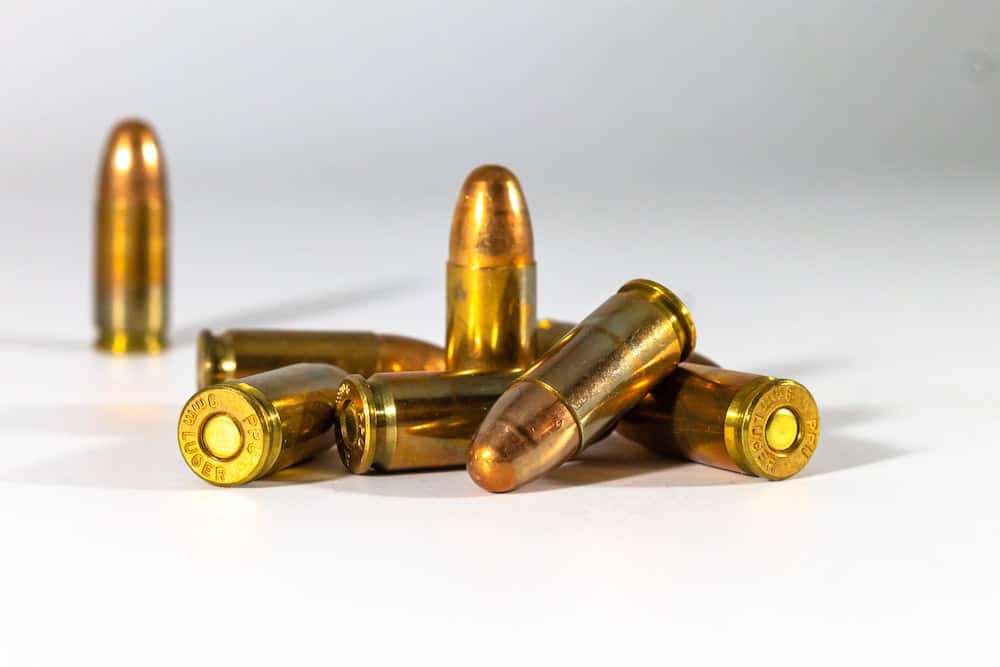
The first thing you need to do before fixing a damaged gun screw is to make sure that your firearm is unloaded. “Unloaded” firearms have killed and injured countless people. Be a little OCD and double and triple check to make sure there isn’t a magazine in the gun and no rounds in the chamber.
Remove the Screw
After you make sure that the gun is unloaded, find the tip in your screwdriver set that matches the slot on the screw head. Using the correct tip to remove the screw will prevent further damage to the screw. Insert the tip into the screwdriver handle and carefully remove the screw.
Use a little downward pressure when twisting to prevent the screwdriver from slipping out. If the screw won’t come out easily, drop some penetrating oil onto the top of the screw head and give it time to seep down into the threads. Use a hairdryer to heat up the screw and the area around it. This will soften any Loctite that may be there. If this doesn’t work, try tapping the end of the screwdriver with a hammer as you twist. This may help you remove a stuck screw.
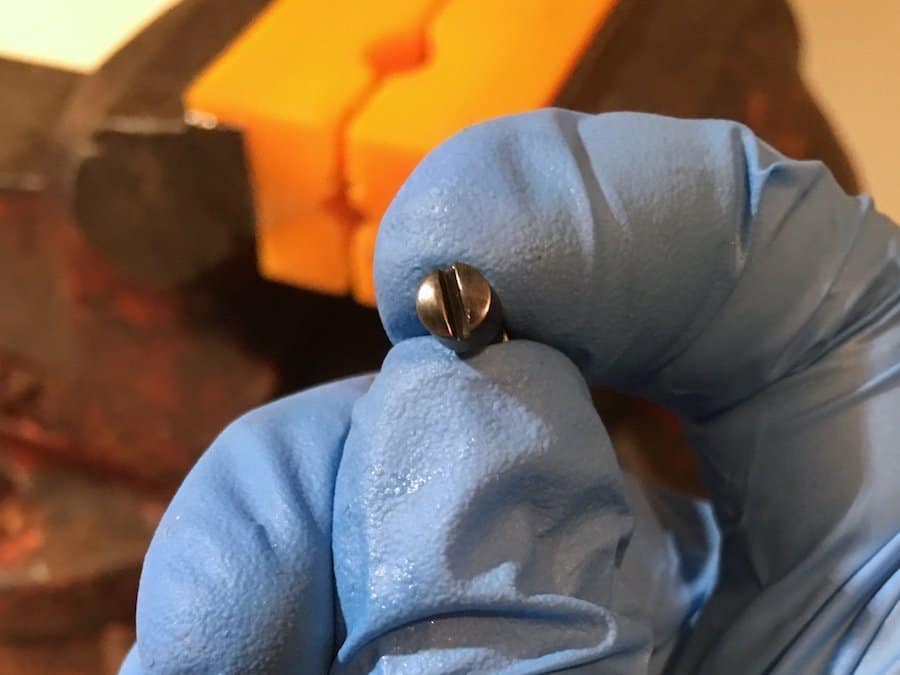
Place the Screw In a Padded Vise
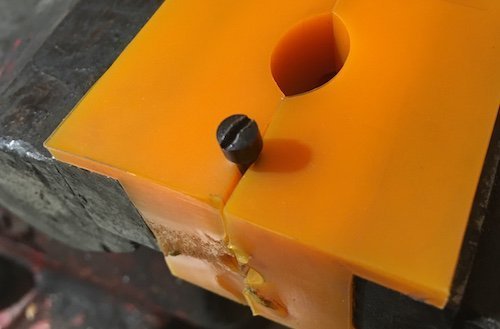
After you get the screw out of the gun, secure it in a padded vise with the screw head exposed. Be sure that you have padded jaws. If you clamp a screw in an unpadded vise, you will damage the threads. If you don’t have a padded vise, hot glue a couple of thick leather squares to a c clamp. You can put the c clamp in your vise while it holds the screw. The key is to hold the screw steady without damaging it.
Remove any Burrs
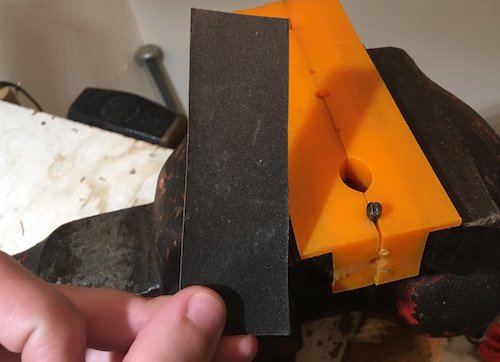
Next, you will need to remove any burrs from the screw head. If there are only light burrs, you can skip straight to 600 grit sandpaper. This should be coarse enough to knock down high spots but not remove too much metal at one time. When using sandpaper, I like to cut it into 1×3 inch strips. If the screw head is rounded, I like to use a “shoeshine” motion as I sand. This will help preserve the contour of the screw head. If the top of the screw is flat, use a backing, such as a file, when sanding. Keep it straight as you sand to avoid beveling the top.

If the burrs are larger, use a needle file to knock them down. Use a light forward motion, trying to follow the contour of the screw head as you file. Take your time and only remove a small amount of metal on each pass. You are trying to make it look nice, not win a race. When you start filing, the file will “grab” onto the rough spots as it is knocking them down. As they are removed, your file will begin to feel like it is gliding across the surface of the screw head. Use your fingernail to make sure the rough spots are gone.
Remove any burrs inside of the screw slot using a flat needle file, being careful not to cut into the bottom of the slot. If the slot is thin, use folded sandpaper to do the same thing.
Polish the Screw Head

After you remove all the burrs from the screw head and slot, use a Dremel tool with a felt polishing wheel and rouge to polish the top of the screw head. If you don’t have a Dremel tool, you can use 2000 grit sandpaper to do the same thing. If you use sandpaper, sand in multiple directions to eliminate one-way scratch marks.
After you are done polishing, remove any residue from the screw. Make sure you clean the threads just in case some of the debris has worked its way into them.
Re-blue if Necessary
If your gun screw had a blued finish, you need to re-blue it using a cold blue solution. I use Oxpho-Blue by Brownells, but you should be able to find Birchwood Casey cold blue at most sporting goods stores. Make sure to wear glasses and gloves during this process. Cold bluing chemicals are highly toxic and corrosive, so you don’t want them touching your skin or eyes.
Before you use the cold blue solution, you need to prep the metal. Use a degreaser, such as acetone, to clean the area you will be applying the cold blue solution to. This will remove any residual oil from the surface. Any oil, including that from your skin, will prevent the cold blue from doing its job. Next, use a hairdryer to heat the metal. Applying cold blue to a heated surface usually yields better results than applying it to a cold one.
Applying Cold Blue Solution
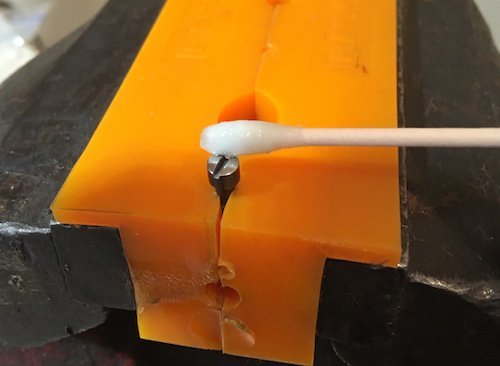
Next, use a Q-tip to apply the cold blue solution to the screw. You will only need to dip the Q-tip into the bottle and rub the solution onto the screw. The metal will start to turn odd colors. This is the cold blue working. Let it sit for 30 seconds to a minute, unless the bottle’s instructions say differently. Use a water-soaked cleaning patch to wipe away any excess solution. This will also neutralize the cold blue solution, preventing it from damaging the metal. Now the top of the screw should have a light blue color. Buff the top of the screw head with 0000 steel wool, then remove any stray fibers.
You may need to apply more than one coat of cold blue to get the color that you want. If this is the case, repeat the steps of cleaning, heating, applying the cold blue, cleaning it with water, and buffing. After you reach the desired color, apply a coat of oil. This will make sure the cold blue solution is neutralized and give the metal a protective coating. Applying oil may darken the color as well.
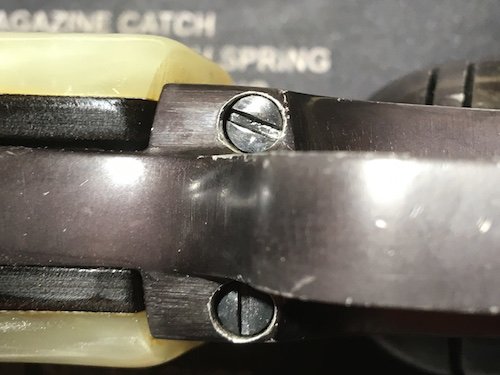
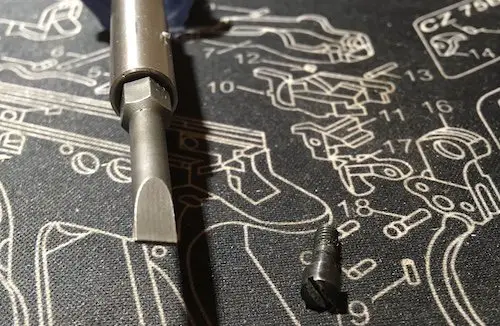
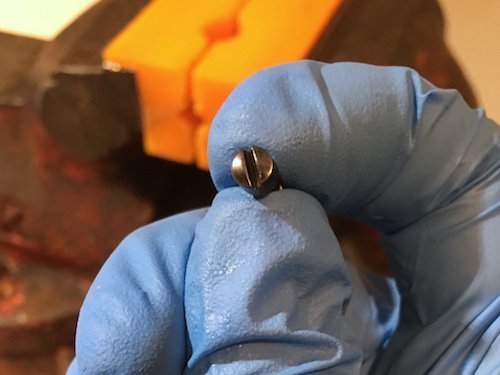
Reinsert the Screw
After you have repaired the gun screw, you can reinsert it into the gun. Be sure to use the correct screwdriver tip so you don’t undo all of the work that you have just done. I have included a picture of the screw after it has been reinserted into the firearm.