
The Ultimate $1,000 Beginner Prepper Guide: A Strategic Roadmap for 2026
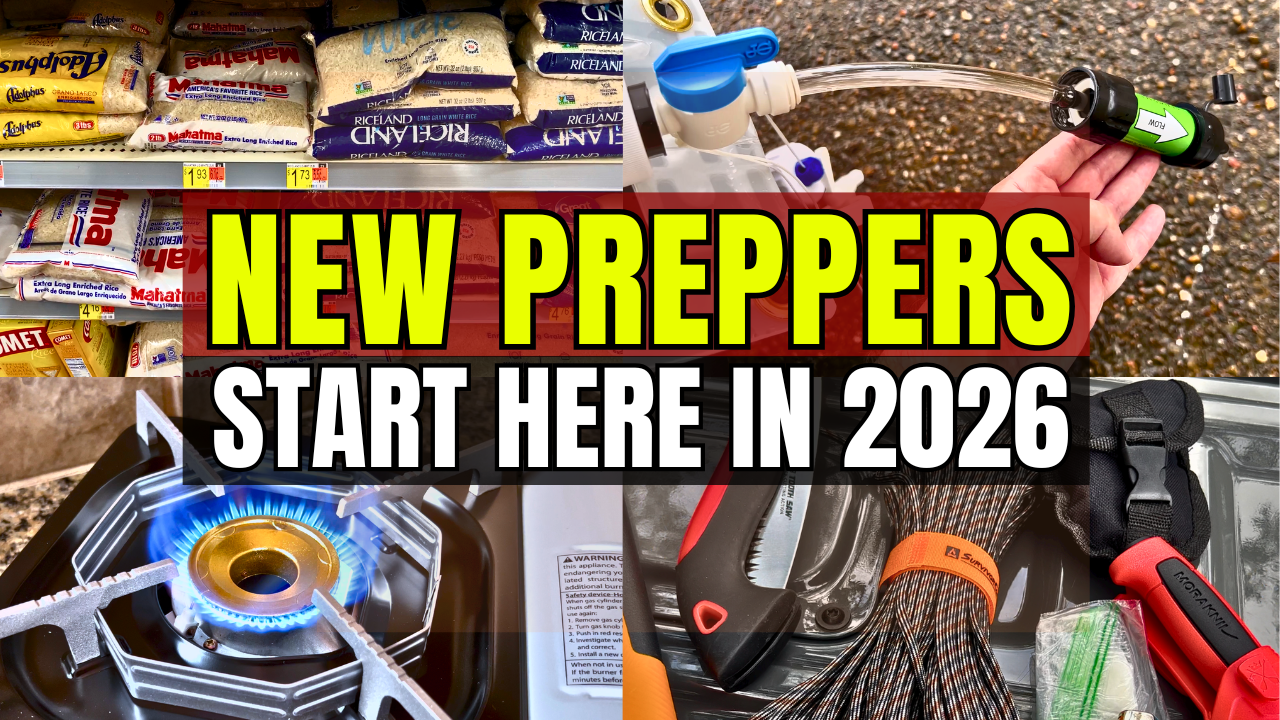
In the world of emergency preparedness, it is incredibly easy to get “gear envy.” We see videos of sprawling underground bunkers, complex tactical setups, and enough freeze-dried food to last a lifetime. But for the average person—the “new prepper”—spending your first $1,000 shouldn’t be about preparing for a cinematic apocalypse.
Instead, the goal is practical resilience. The most likely scenarios we face are localized: power grid failures, supply chain disruptions, or extreme weather events that force you to shelter in place for two to four weeks. If you have $1,000 to invest—perhaps from a tax return or a dedicated savings goal—this guide will show you how to turn that money into a comprehensive survival foundation.
Phase 1: Securing the Essentials (Food & Water)
The $100 Food Foundation: Calories Over Convenience
Many beginners make the mistake of buying “emergency meal kits” first. While convenient, these often cost $10 to $12 per meal. On a $1,000 budget, you need to make your money stretch.
Your first $100 should be spent at a local bulk grocer. Focus on “The Survival Staples”:
- Dry Goods: White rice, pinto beans, and pasta. These are the backbone of any food storage plan due to their high caloric density and long shelf life.
- Fats and Oils: Vegetable oil or shortening. You cannot survive long-term without fats, and they make bland food palatable.
- Flavor and Nutrition: Salt, sugar, and powdered milk. Canned meats (chicken, tuna, or Spam) provide essential protein, while canned vegetables offer necessary vitamins.
Water Storage: The 21-Gallon Rule ($60)
The standard rule is one gallon of water per person per day. For a single person, 21 gallons covers three weeks. For a family of four, you’re looking at about five days of survival.
On this budget, I recommend Reliance Aqua-Tainers.
- Why they work: At roughly $20 each, they are affordable and stackable.
- The Spigot Advantage: Each container features a hideaway spigot. This allows you to set the container on the edge of a counter to wash hands or dishes, which is much more water-efficient than pouring from a jug.
Water Filtration: The DIY Gravity System ($60)
Stored water eventually runs out. You need a way to make “found water” (rainwater, creek water, or pool water) safe to drink.
Instead of buying a $300 name-brand system, build a DIY Gravity Filter:
- Sawyer TAP Filter: This small device is rated to 0.1 microns and removes 99.9% of bacteria and protozoa.
- Food-Grade Bucket: Drill a hole and install a spigot.
- The Process: Pour dirty water into the bucket; let gravity push it through the Sawyer filter into a clean container.
Phase 2: Cooking and Sanitization ($200)
Indoor Cooking: The Butane Solution ($65)
If the grid goes down in the winter, you cannot cook inside with a charcoal grill (carbon monoxide risk). A butane stove is a tabletop solution that is safe for indoor use, provided you have a cracked window and a battery-operated CO detector.
Long-Term Cooking: The Rocket Stove ($135)
What happens if the power is out for a month and you run out of butane? You need a stove that uses “free” fuel.
A Rocket Stove (like the EcoZoom Versa) is a highly efficient wood-burner that uses small sticks and twigs to create a concentrated, high-heat flame. Unlike DIY brick stoves, a commercial rocket stove is designed to handle high-heat expansion without cracking.
Phase 3: Off-Grid Power and Lighting ($490)
The Solar Generator ($450)
A small portable power station (300Wh to 500Wh) with a 100W solar panel is a game-changer. While it won’t run your refrigerator, it will:
- Keep cell phones charged for news and emergency alerts.
- Run LED lanterns or recharge headlamps.
- Charge cordless power tools for boarding up windows or making home repairs.
Rechargeable Battery Ecosystem ($40)
Don’t rely on disposable batteries that leak over time. Invest in a high-quality AA and AAA rechargeable kit for your motion sensors, radios, and flashlights.
Phase 4: The “Last $150” – Hygiene, Meds, and Tools
Hygiene and Medical ($100)
In a real emergency, hygiene is healthcare. If the water is off, you cannot waste your drinking supply on washing dishes.
- Paper Goods: Buy paper plates, bowls, and plastic utensils to save water.
- Sanitization: Stock up on wet wipes, hand sanitizer, and heavy-duty trash bags.
- OTC Meds: Focus on pain relievers (Ibuprofen), digestive aids (Anti-diarrheal), and hydration (Pedialyte).
Manual Repair Tools ($50)
If your solar generator fails, you need a backup. A manual “egg-beater” style drill, a folding saw for processing wood, and a reliable multi-tool are essential for home fortification.
Quick Reference Budget Breakdown
| Category | Item | Estimated Cost |
|---|---|---|
| Food Foundation | Bulk Staples (Rice, Beans, Canned Goods) | $100 |
| Water | 3x Aqua-Tainers + DIY Filter Kit | $120 |
| Cooking | Butane Stove + Fuel + Rocket Stove | $200 |
| Power | Solar Generator + Rechargeable Batteries | $490 |
| Hygiene & Tools | Meds, Paper Goods, and Manual Tools | $90 |
| TOTAL | $1,000 |
Conclusion: Build Your Layers
Spending $1,000 on preparedness isn’t about buying “stuff”—it’s about buying time. Start with the food and water today. Even if you only have $50 this week, you can start the journey. Preparedness is a marathon, not a sprint.
For more practical DIY survival tips, be sure to check out the full video breakdown on the DIY Prepper TV YouTube channel.
