How to Add a Handle Repair Kit to Becker Knives
Becker knives, such as the BK-2 Companion, BK-9 Combat Bowie, and BK-7 Combat Utility Knife have some of the most comfortable handles that you will find on a knife. Becker knife handles are also hollow, meaning that you have the option of storing a handle repair kit inside of your knife’s handle.
The hollow spaces inside of the larger Becker knives’ handles are a perfect place to keep a handle repair kit. Having things like extra screws, hex nuts, and electrical tape will ensure that you have everything that you need to repair handle problems in the field.
In this article, I’ll show you how to upgrade the hardware on your Becker knife and how to use the old screws and nuts as a repair kit. I’ll also show you how you can store electrical tape or grip tape inside the handle as well.
Note: This will only work with larger Becker knives with skeletonized tangs. Tweeners, such as the BK-16 do not have hollow spots in the handles. Also, some other larger knives, like some older BK-2s, have a solid tang and likely won’t have enough room for the items discussed above.
Upgrading Screws and Nuts on Becker Knives
Many people who own Becker knives prefer to upgrade the hardware on their knives to stainless steel. The nuts and screws that come stock on the knives aren’t very corrosion resistant. Upgrading them to stainless steel is a cheap way to make the knives easier to maintain.
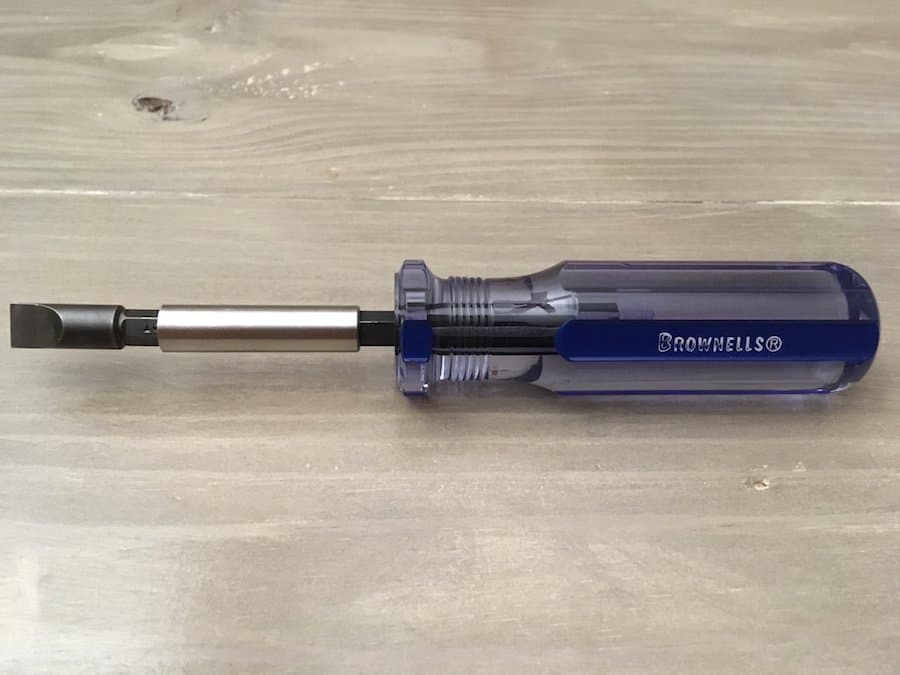
I also chose to change the type of screw that I will be using to Phillips head. Socket head cap screws that come with the knives are less likely to strip out. However, I am not as likely to have an Allen wrench with me as I am a Phillips head screwdriver.
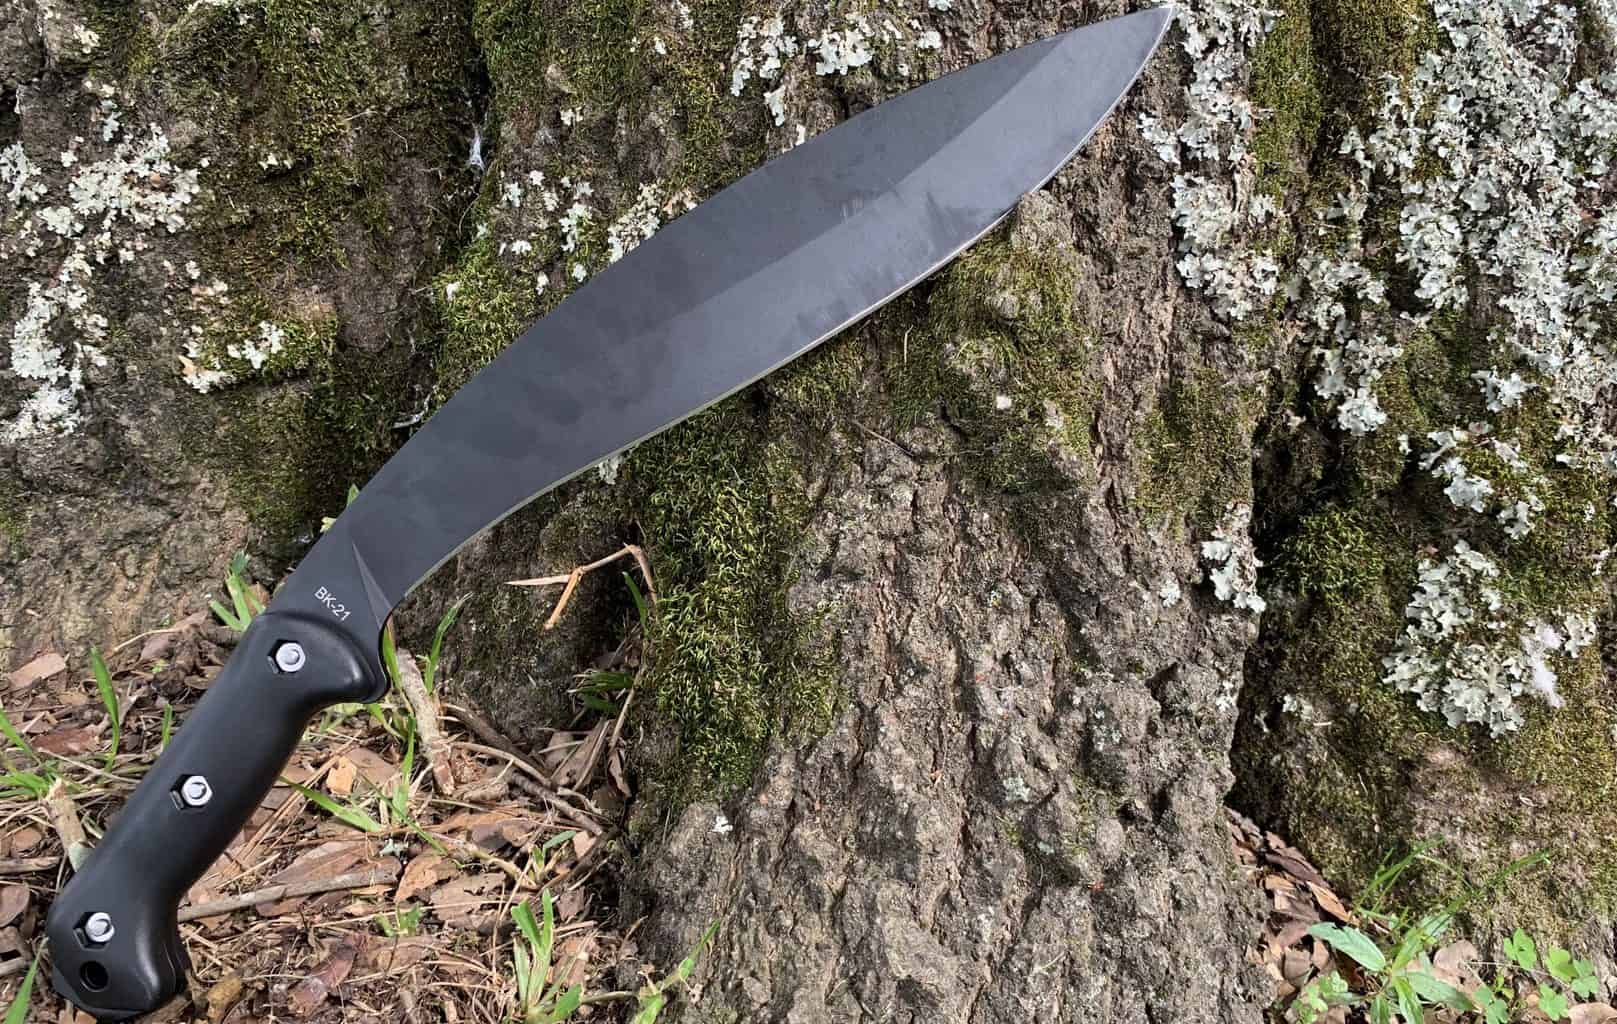
The Swiss Army Knife that I carry has a Phillips screwdriver. It is with me almost everywhere that I go, including places where I would use my BK-21, which is the knife I will be using in this article. You can find the Ka-Bar Becker BK-21 by clicking here.
Related: Knives Preppers Need-Ultimate Prepper Knife Loadout
What Size Hardware do Becker Knives Use?
Larger Becker knives such as the BK-9 use #10-24 x 5/8 inch screws and corresponding #10-24 hex nuts. Smaller Becker knives, such as the BK-16 use #8-32 x 1/2 screws and corresponding #8-32 hex nuts.
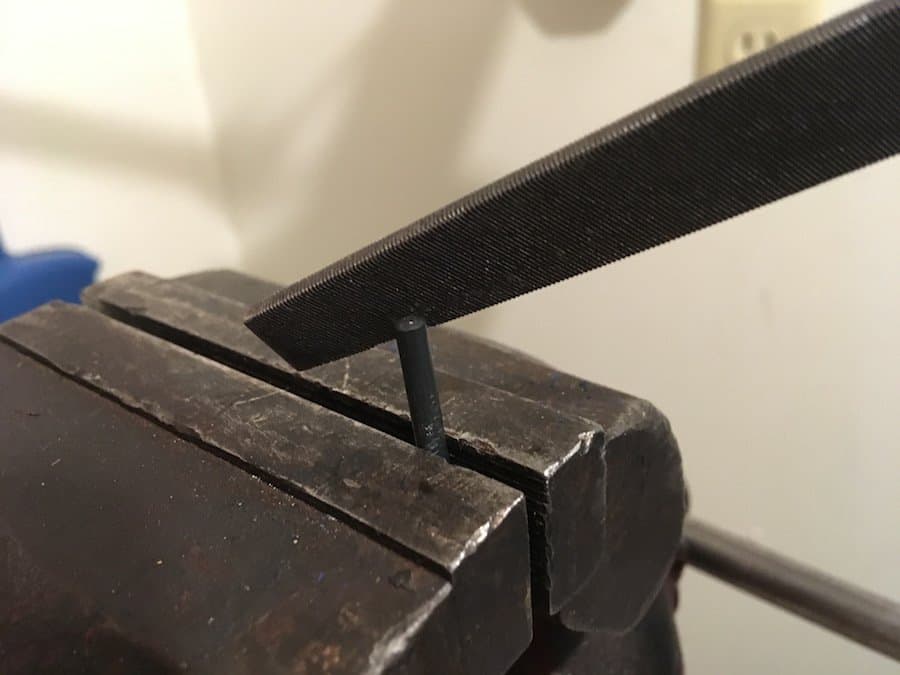
My local hardware store didn’t have any #10-24 x 5/8 inch screws, so I had to settle for #10-24 x 3/4 inch. The threads were the same so all I needed to do was cut them down to the proper length. I then used a file to remove any sharp or uneven edges.
I plan on using this new hardware on my BK-21 and keeping the hardware that came with it in my handle repair kit.
Related: How to Dye Becker Micarta Handles
Make a Mini Allen Wrench
If you will be using your Becker’s original hardware in your handle repair kit, then it is a good idea to include a small Allen wrench as well. First, find a 5/32 Allen wrench that you don’t mind cutting down.
Next, remove the scales on your knife and try to lay the Allen wrench into one of the hollow sections. Mark where you will need to cut it so that it will fit in that space.
Secure the Allen wrench in a bench vice and then use a Dremel with a cutting wheel to cut the Allen wrench to the proper size. Use a file to knock down any uneven or sharp edges.
Check to make sure that your new mini Allen wrench fits inside of the handle scale. If not, trim it down a little further.
Related: How to Build a Complete Prepper’s Tool Kit
Creating the Handle Repair Kit
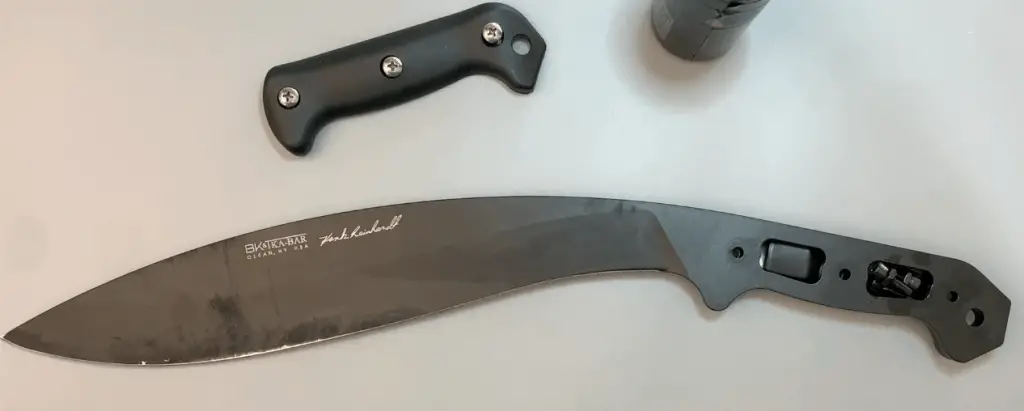
Start by removing the handle scales from your knife if you haven’t done so already. If your Becker has its original hardware, then you will need a 5/32 Allen wrench. Loosen the screws and lift the side of the handle with the screws in it away from the knife. Keep the other half on your work surface with the knife resting on it.
Drop the mini Allen wrench through the knife’s skeletonized tang and into the handle below. Next, place the screws and hex nuts (each pair should be attached to one another) on top of it. You may need to alternate how you position the screws to make them fit.
It is a good idea to oil any hardware that will be placed inside of the handle scales. I chose to use Breakfree CLP on mine. I coated each screw and hex nut set along with the mini Allen wrench before I put them into the handle.
Next, find some electrical tape (or grip tape) and a scrap piece of packaging plastic. I used a small piece of the packaging that some face masks came in. Cut the plastic into a square whose sides are the same length as your electrical tape is wide.
Now wrap the electrical tape around the piece of plastic as neatly and tightly as possible. You want to get as much tape on there as possible and still be able to fit it inside of your knife’s handle. When you are finished, drop it through the skeletonized tang and into the handle below.
Now find a piece of plastic (like from a zip lock bag) and cut it into a piece that you can stuff into the top handle scale. Put it into the compartment that will be covering the nuts, screws, and mini Allen wrench. This will reduce the amount of rattling that will occur when using the knife.
Carefully place the top handle back onto the knife, being careful to keep the components in place. Secure the handle back onto the knife using the screws and hex nuts.