How to Dye Micarta Knife Handle Scales
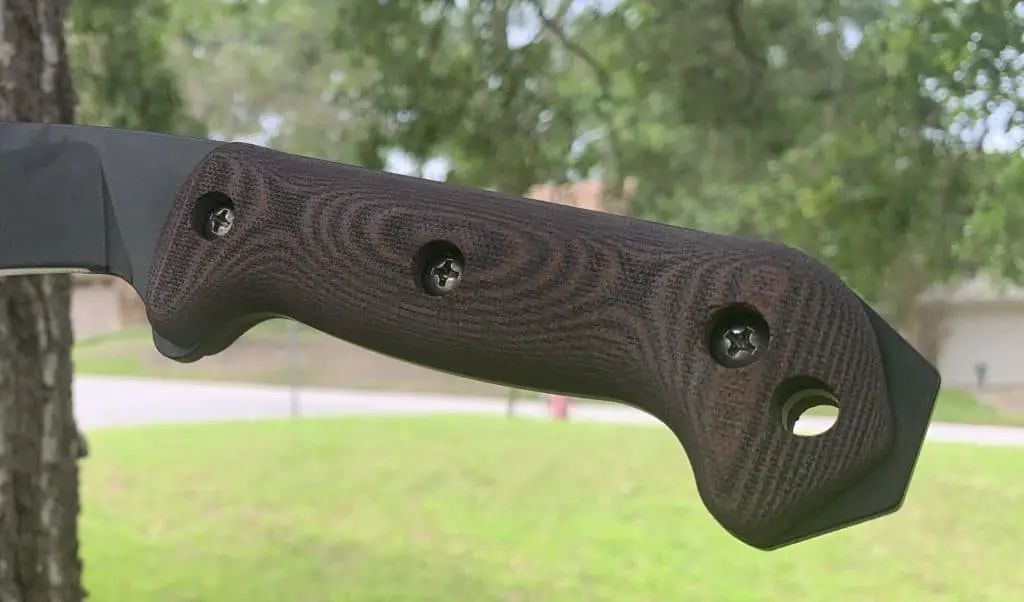
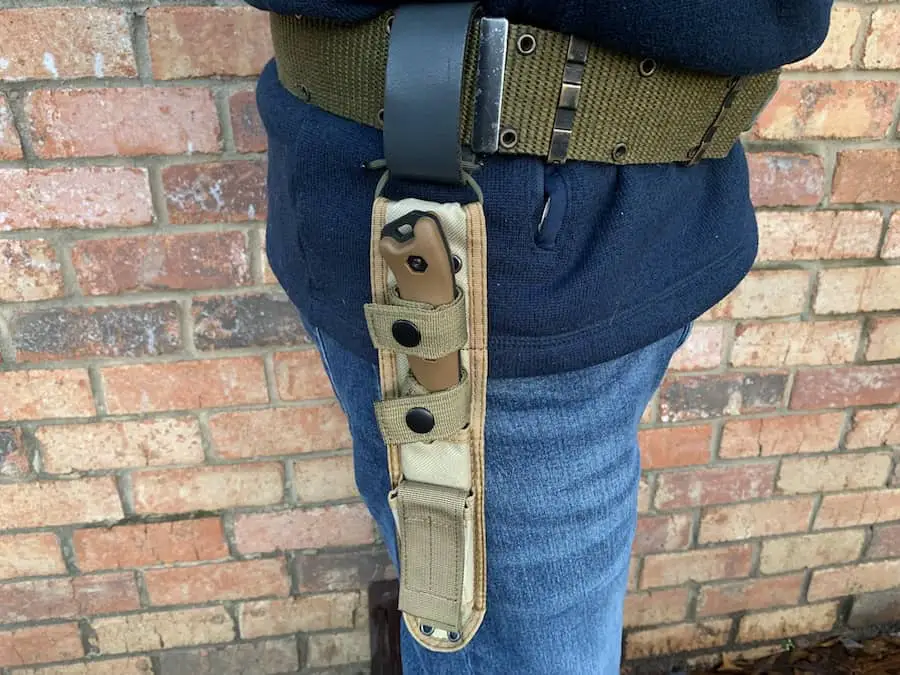
One of the best things about Becker knives is how easy they are to customize. Probably the most common, and easiest modification that people make is adding aftermarket handles. In my case, I chose the micarta handles made by Ka-bar. They fit any large Becker knife, including the BK-2 Companion, BK-7 Combat Utility Knife, and BK-9 Combat Bowie. I chose the tan micarta so that I could dye the handles and personalize my Becker even more.
The micarta handles that Ka-bar produces for Becker knives are high-quality and easy to dye. In fact, you can find everything that you need to dye your handles from a local hobby store. The entire project can be done in an afternoon.
Here is what I did to dye the micarta handles that I got for my BK-21. These instructions should also work for the micarta handles that Ka-bar produces for the smaller “tweener” knives such as the BK-16 as well as those designed for the BK-62 Kephart.
Materials Needed
- Ka-bar Becker Micarta handle scales
- Sandpaper (320 grit)
- Rubber gloves
- 2 ounces-1 cup of salt
- Dish soap
- A large pot
- Water
- Rit Dye
- Thin metal wire
- Paper towels
- Stirring stick
Prep the Handles
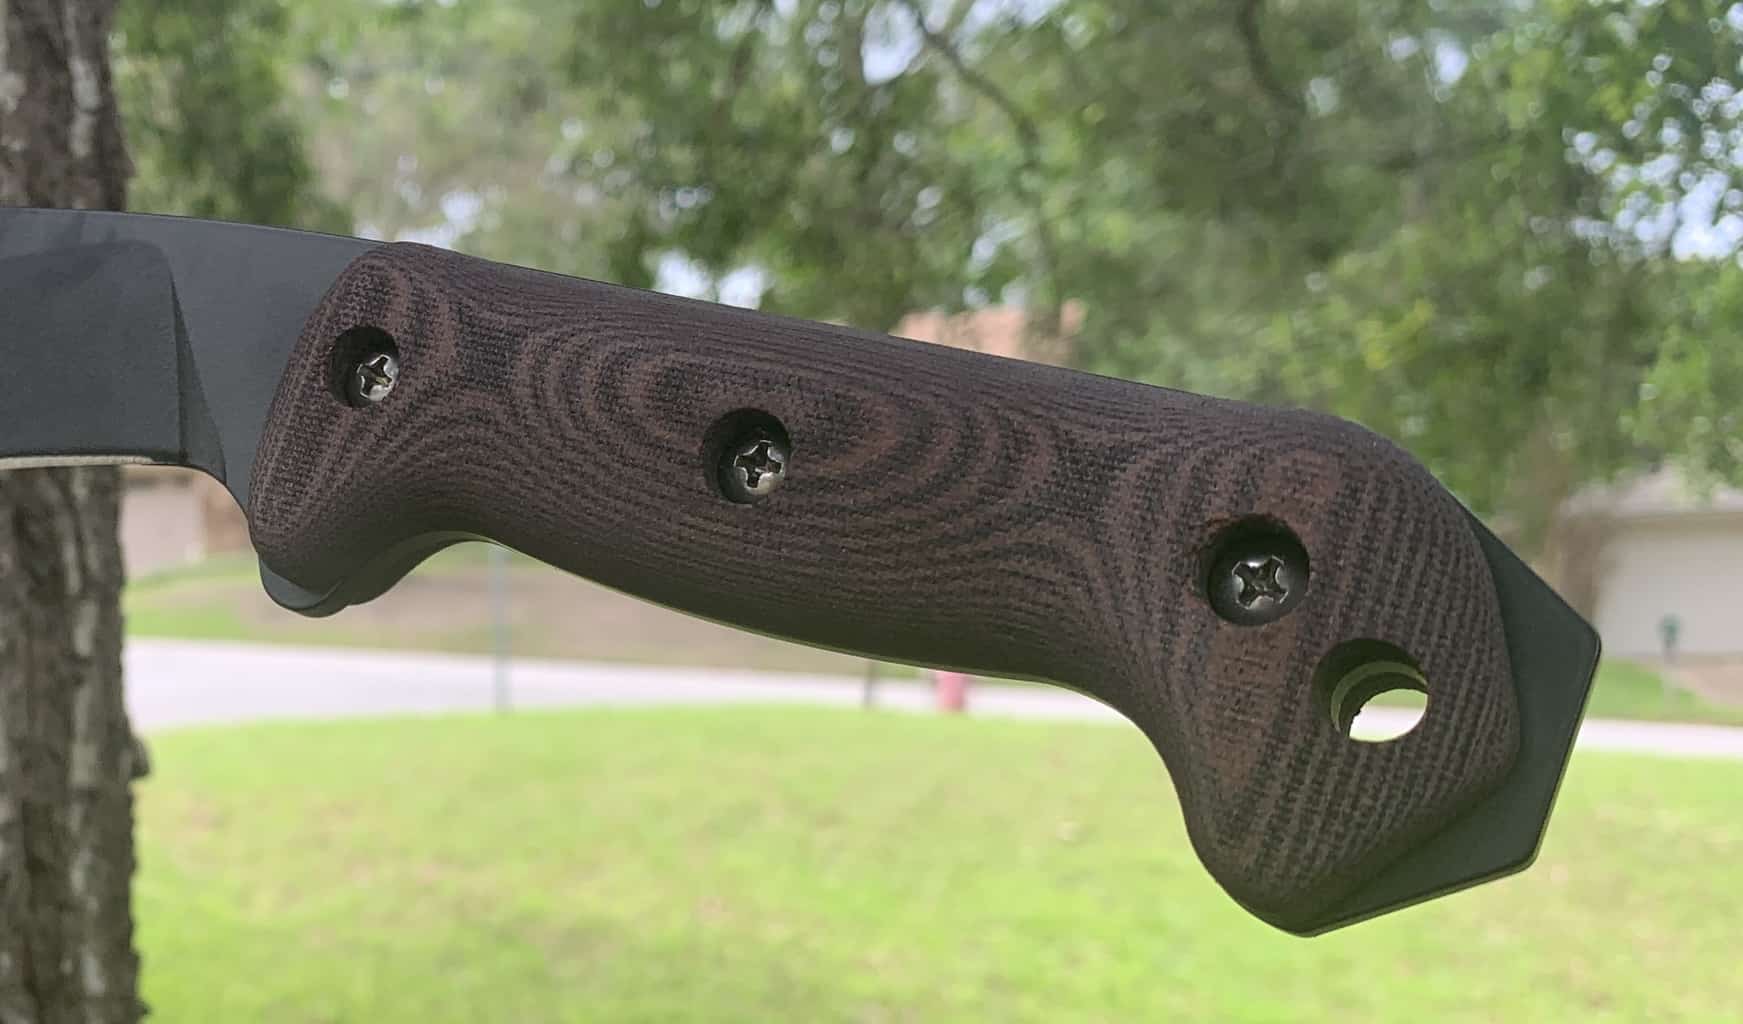
Before you dye your new Becker Micarta handles, you will need to do a few things to get them ready. If you are using aftermarket hardware, you will need to make sure that it will fit in the holes on the scales. The screws that I was using were too large to fit through the holes. This is because they were Phillips head screws instead of the socket cap screws that came stock with my BK-21. I had to use a drill to enlarge the holes slightly.
You may also want to use sandpaper to knock down any sharp edges that may be present on the scales. On my scales, the edges of the holes for the hex nuts were very sharp. I just used a small square of sandpaper and my finger to slightly round the edge at the top of each hole. I also did the same thing to the holes on the other scale.
Related: Knives Preppers Need- Ultimate Prepper Knife Loadout
The last thing that you need to do before dyeing your Becker’s new micarta scales is to wash them in warm, soapy water. This will remove oil and other contaminants from them. It will give the dye the best chance of being evenly applied to the micarta. Use gloves when you wash the scales and don’t touch them without gloves until you are completely done dyeing. After washing, allow them to dry completely. I placed them on the dashboard of my car to speed up the process.
Prepare the Dye Bath

Next, you will need to prepare your dyeing bath. Start by filling a pot with 64 ounces of water. Be sure to use a pot that you don’t mind never cooking with again. The Rit Dye that you will be using will render it non-food-safe from now on. I bought a cheap one from a local thrift store specifically for this purpose and plan on saving it for future projects.
Next, heat the water until it begins to boil. When it begins to boil, turn the heat down so that the water remains at a low boil. Then, add around 2 ounces of salt and a teaspoon of dish detergent to the water and mix them in. The salt will help enhance the color and the dish soap will help ensure an even dye.
Now, mix the dye into the water. Many people suggest using the Rit Dyemore Synthetic instead of the normal Rit Dye for materials such as micarta. I used regular Rit Dye because the colors that I wanted were only available in that variety.
Since I wanted my Becker’s new micarta scales to have a dark red mahogany look, I used multiple colors of dye. I used a color PDF from Rit’s website to determine the colors that I would need to mix and picked up a bottle of the “Wine” color and a bottle of “Dark Brown”. I accidentally bought a bottle of “Cherry Red” but it ended up being useful. You can find Rit’s color mixing chart by clicking here.
Ratio of Water to Dye
If you are using 64 ounces of water then you will need to add 8 ounces of dye. This will give you an 8:1 ratio of water to dye. This easy to do since each bottle of dye is 8 ounces. I started out with two colors, so I added half a bottle of each to the mixture. (I didn’t use the third bottle until later in the process.)
Use a paper towel to check the color of your dye bath. Adding more dye will make the color stronger and adding water will help tone it down. It is a good idea to have extra dye in case you need to add more to the mixture. I wasn’t happy with how purple my dye bath was, so I added the rest of the bottle of “Dark Brown” and the bottle of “Cherry Red” to get it closer to what I wanted.
Dye the Micarta Scales
After you get the dye bath the color that you want it is time to dye your new Becker micarta scales. Use thin wire to form a loose loop around each handle scale’s lanyard hole. The loop should be loose enough that the scale can move freely without falling off. Also, the wire should be long enough that it sticks out of the top of the boiling pot.
Lower the handle scales into the dye bath and stir the mixture. Allow them to stay in the dye bath for 10 minutes. (It is okay to check them if you can’t help yourself) Then remove them and inspect their color. When inspecting the color be sure to remember that the color will be lighter when the scale dries out. Because of this, the scale should be a little darker than what you want when it is still wet.
I took mine out, rinsed them off, and then decided I wanted them darker. I placed them back in the dye bath and let them soak a little longer. In all, my handle scales probably spent around 20 minutes total in the dye bath.
Rinse the Handle Scales
After you are satisfied with the color you have achieved, take the scales to a sink and rinse them off with warm soapy water. This will help remove any dye that hasn’t set, preventing bleeding and color transfer later on. Then allow the scales to dry for up to 24 hours.
Attach the Scales
After the scales are fully dry, attach them to your knife. You are now ready to enjoy the fruits of your labor!